How to Create a Gallery Wall — Step-by-Step Guide
Creating a gallery wall is one of those projects that looks effortless when done right — and chaotic when done wrong.
The difference isn’t taste or budget. It’s planning. A great gallery wall doesn’t happen by accident. It’s measured, arranged, and executed with intention.
Here’s how to create a gallery wall that actually works.
STEP 1: CHOOSE YOUR WALL
Not every wall is gallery wall material.

Best walls for gallery walls:
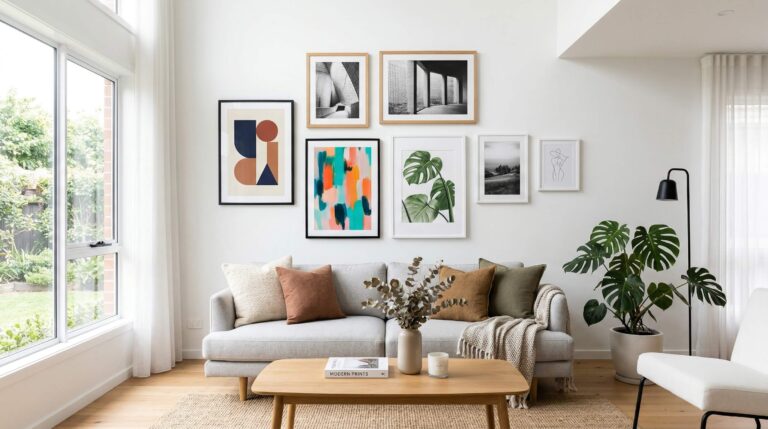
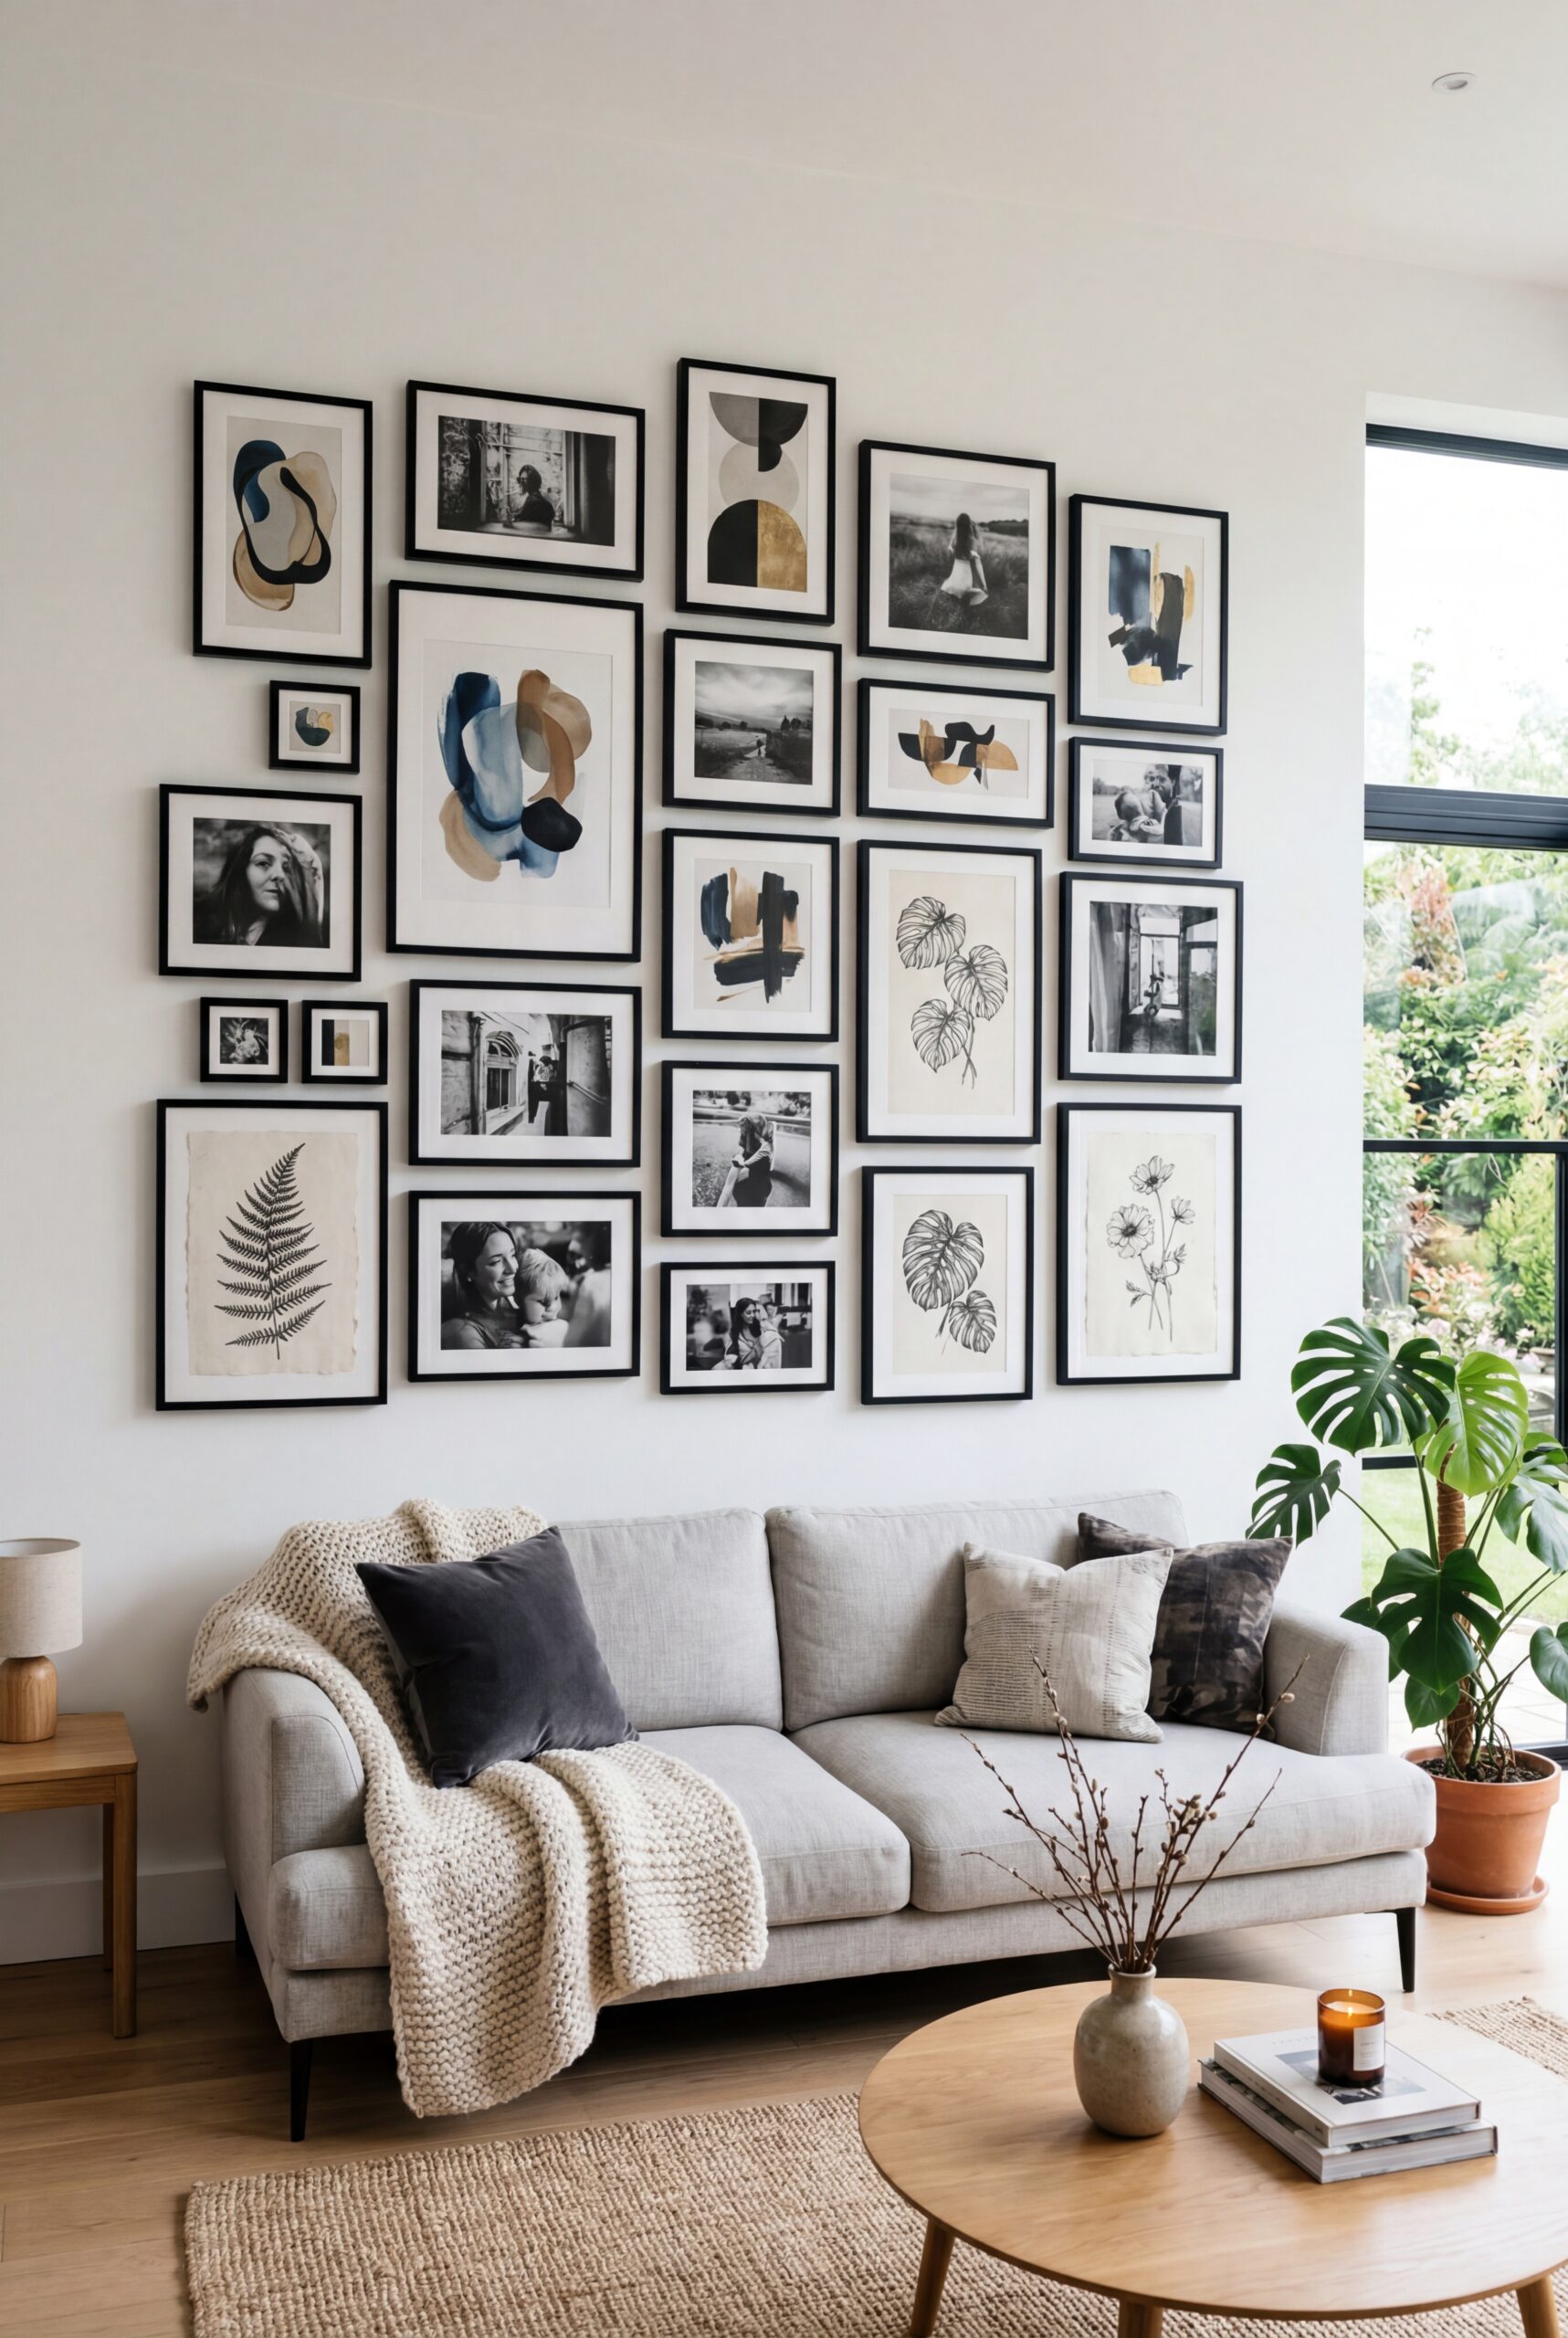
- Living room walls above sofas (at least 6 feet wide)
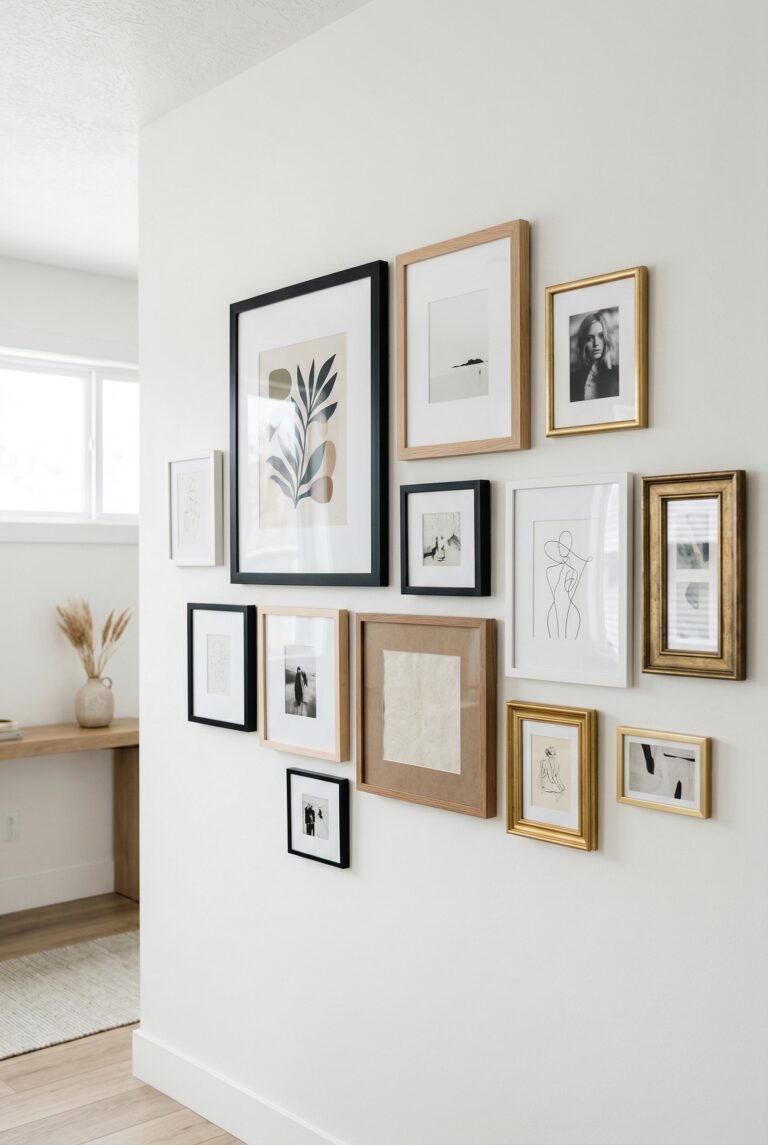
- Hallways (long, narrow walls work beautifully)
- Staircase walls (follow the angle of the stairs)
- Bedroom walls above beds or dressers
Avoid:
- Walls with too many windows or doors
- Walls shorter than 4 feet wide
- Walls in high-traffic areas where people might bump into frames
The wall should be large enough to make an impact but not so large that you need 30 frames to fill it.
STEP 2: PLAN YOUR LAYOUT (BEFORE YOU HANG ANYTHING)
This is the step most people skip — and regret.
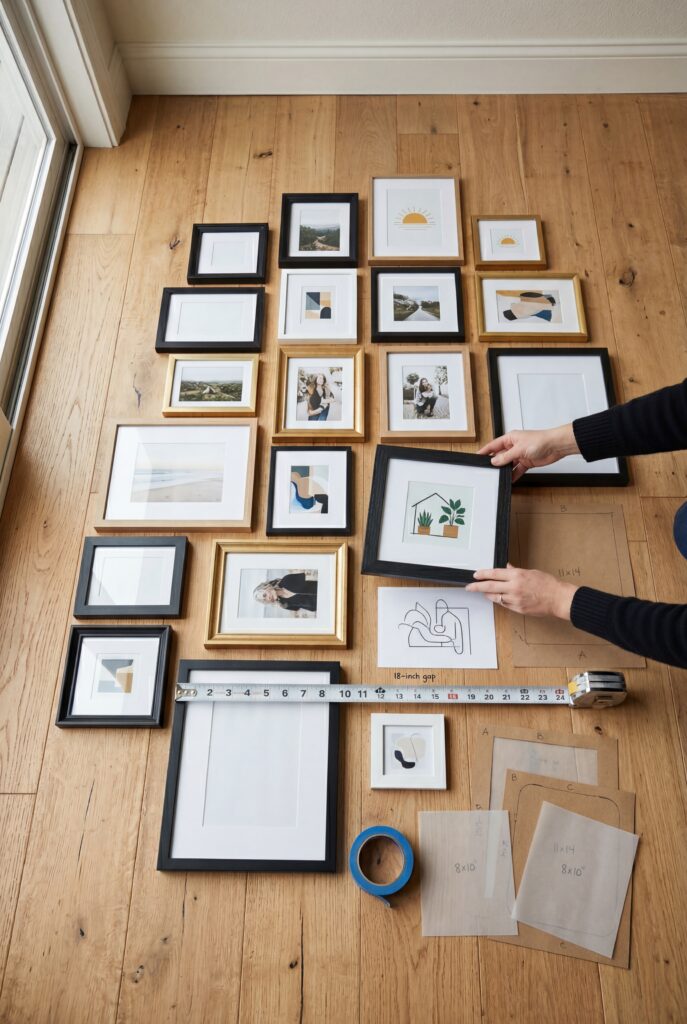
The floor method:
- Lay all your frames on the floor
- Arrange them until you love the layout
- Take a photo
- Measure the total width and height
- Mark the wall with painter’s tape
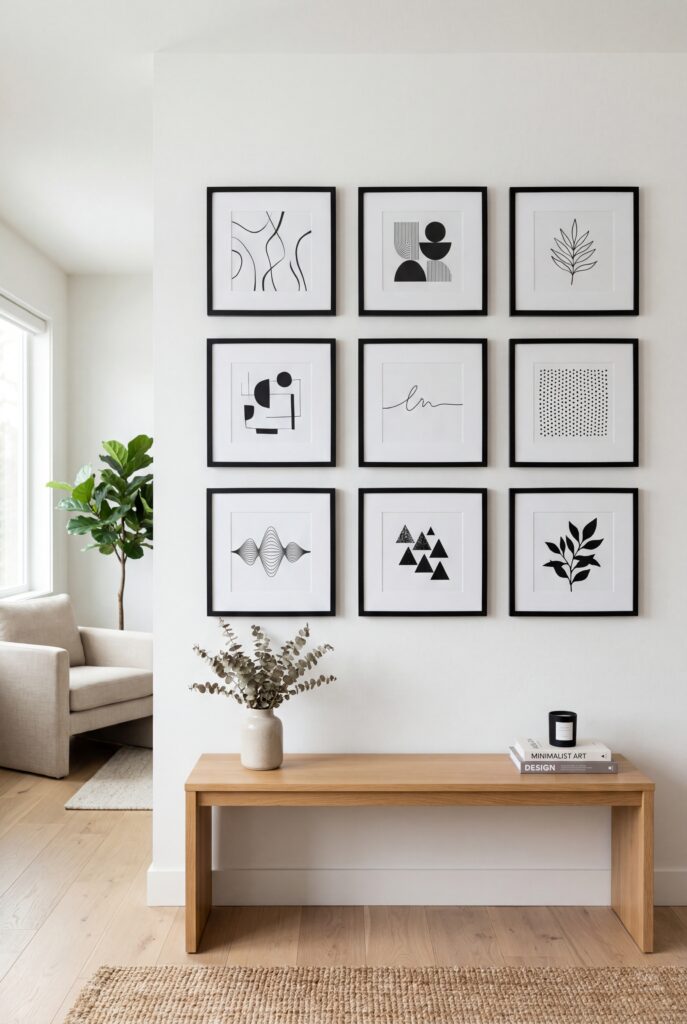
Three proven layouts:
The Grid Layout
- All frames the same size
- Arranged in perfect rows and columns
- Equal spacing between all frames
- Best for: Modern, minimalist spaces
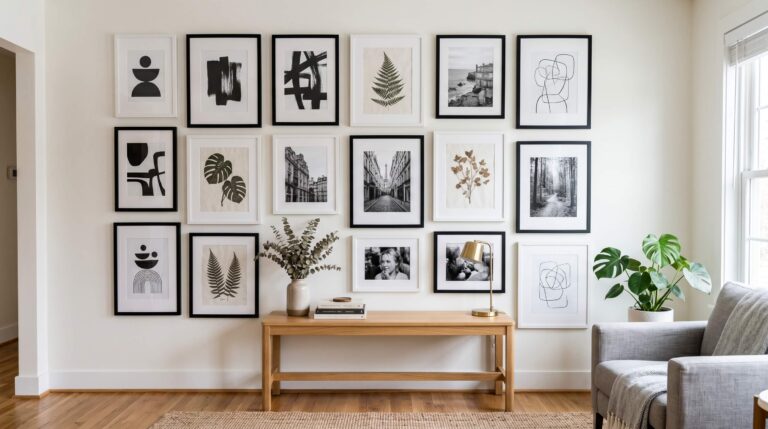
The Salon Style
- Mix of different frame sizes
- Organic, asymmetrical arrangement
- Frames hung close together (2-3 inches apart)
- Best for: Eclectic, collected-over-time feel

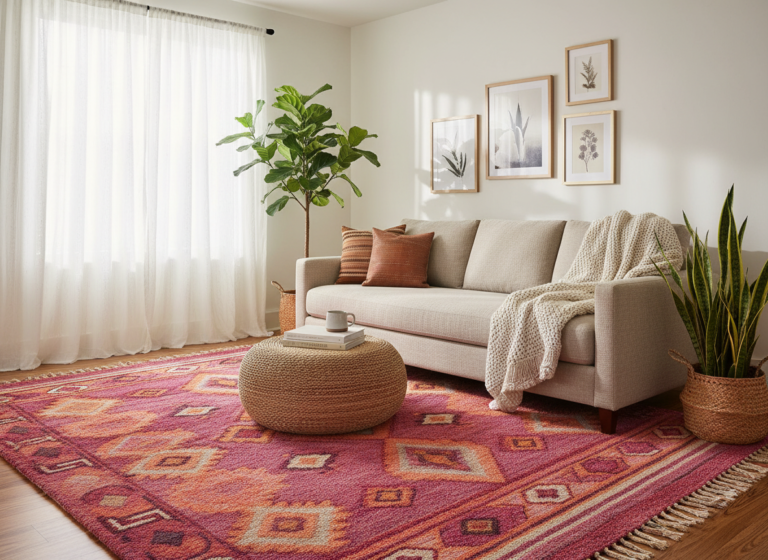
The Horizontal Line
- Frames aligned along one horizontal line
- Mix of sizes, but tops or bottoms align
- Best for: Above sofas or long hallways
Pro tip: Keep spacing consistent. Whether it’s 2 inches or 4 inches between frames, consistency is what makes it look intentional.
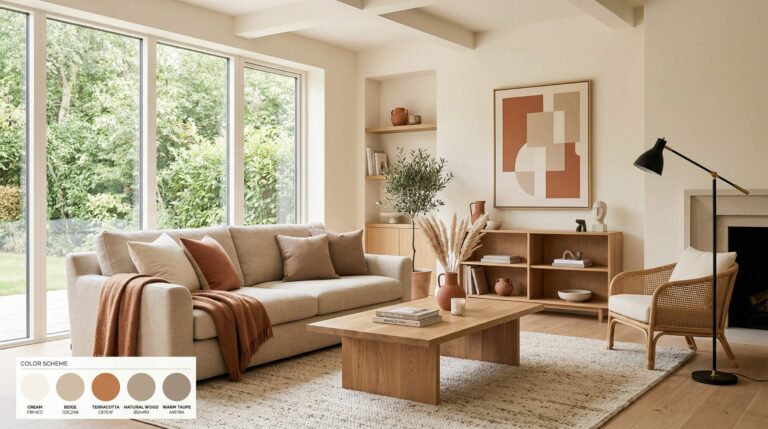
STEP 3: CHOOSE YOUR ART AND FRAMES
Gallery walls work best when there’s a unifying element.
Choose ONE of these to keep consistent:
- Frame color (all black, all white, all wood)
- Mat color (all white mats, or no mats)
- Art style (all black and white photos, all abstract, all botanical)
You can mix:
- Frame sizes
- Art subjects (if style is consistent)
- Vertical and horizontal orientations
Common mistake: Mixing too many variables. If frames are different colors AND art styles are all over the place AND mat colors vary, it reads as chaotic.
STEP 4: GATHER YOUR TOOLS
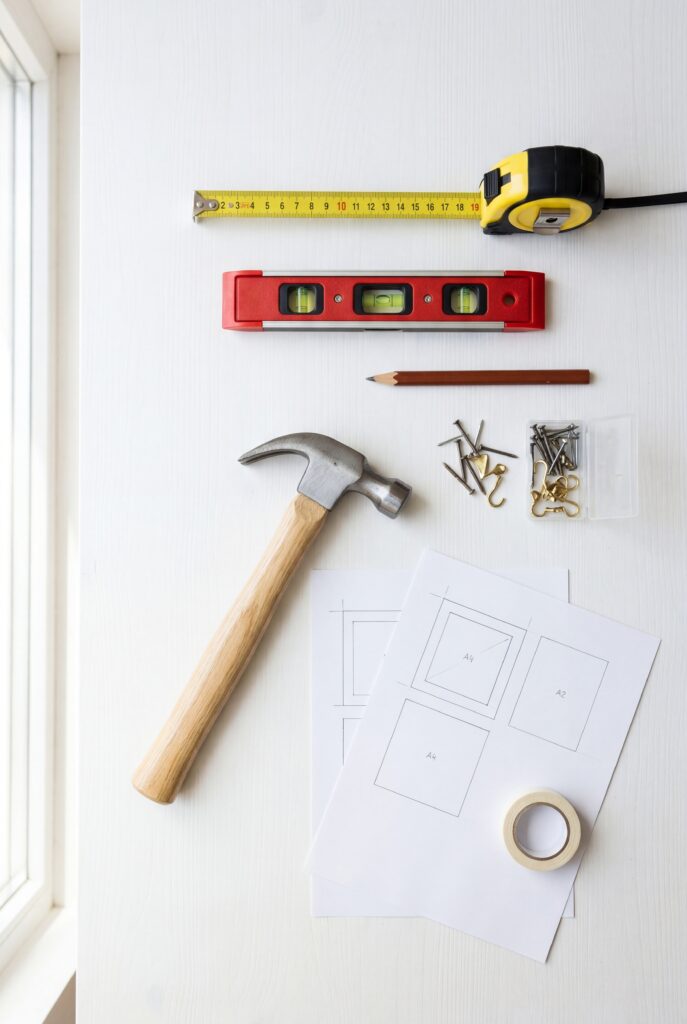
You’ll need:
- Measuring tape
- Level (or use your phone’s level app)
- Pencil
- Hammer
- Picture hanging nails or hooks
- Painter’s tape (for marking the wall)
- Paper templates (trace each frame on paper)
The paper template method:
Cut paper templates the exact size of each frame. Tape them to the wall in your planned layout. Step back and adjust. Once you’re happy, nail through the paper, then tear it away. This prevents unnecessary holes in your wall.
STEP 5: HANG YOUR GALLERY WALL
The center-out method:
- Start with the center piece (or the largest piece)
- Hang it first
- Work outward from there
Height rule:
- Center of the gallery wall should be 57-60 inches from the floor (eye level)
- If hanging above furniture, leave 8-10 inches between the furniture and the bottom frame
Spacing:
- 2-3 inches between frames for salon style
- 3-4 inches for grid layouts
- Measure and mark before nailing
Level everything:
Use a level for every single frame. Even if the arrangement is asymmetrical, each individual frame should be level.
COMMON GALLERY WALL MISTAKES
1. Hanging frames too far apart
Gallery walls should feel cohesive. If frames are 6+ inches apart, they look disconnected.
2. Starting without a plan
Hanging frames one by one without a layout = multiple nail holes and frustration.
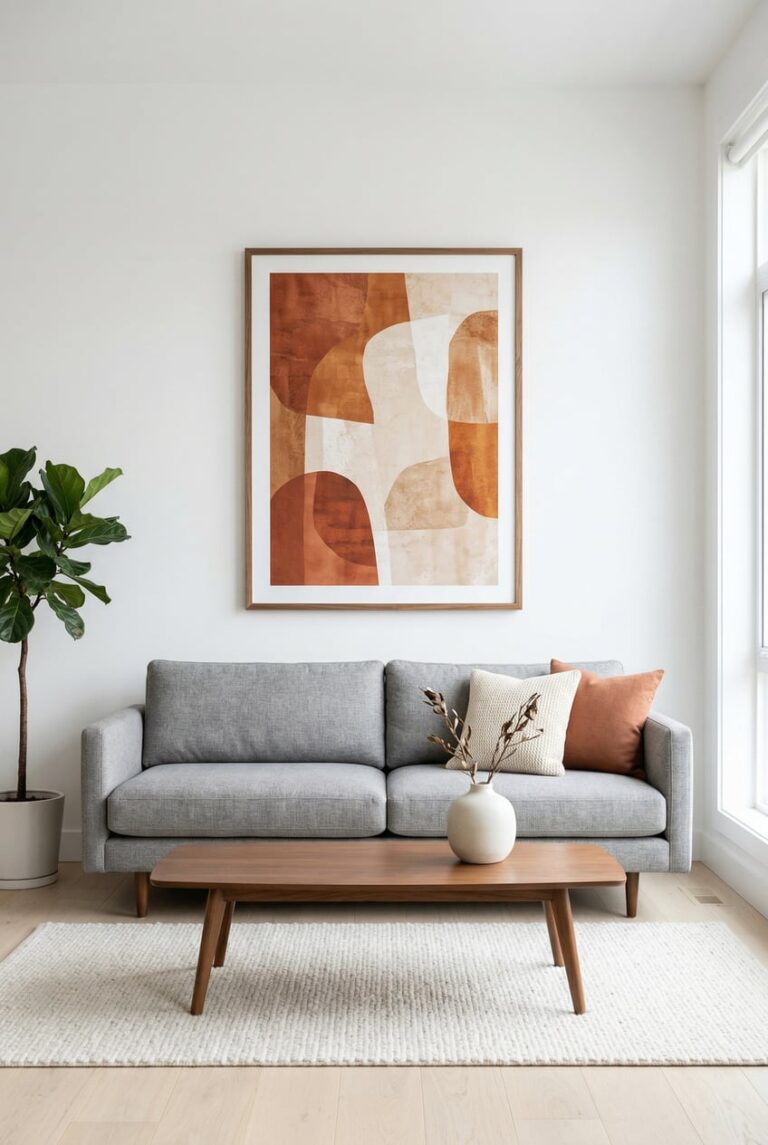
3. Choosing frames that are too small
A gallery wall should have visual impact. If all your frames are 8×10 or smaller, it will look timid. Include at least a few larger pieces (16×20 or bigger).
4. Ignoring the room’s scale
A tiny gallery wall on a huge wall looks lost. A massive gallery wall in a small room feels overwhelming. Match the scale to the space.
QUICK REFERENCE GUIDE
Above a sofa (72 inches wide):
- Gallery wall total width: 48-54 inches
- Height: 24-36 inches
- Number of frames: 6-12
In a hallway:
- Gallery wall total width: 36-48 inches
- Height: 48-60 inches (can go taller)
- Number of frames: 8-15
Above a bed (queen size):
- Gallery wall total width: 40-48 inches
- Height: 24-30 inches
- Number of frames: 4-9
THE PRACTICE
This week: choose your wall and measure it. Lay out your frames on the floor. Take a photo. Live with that photo for a day before committing.
Gallery walls are meant to evolve. You can always add more frames later. Start with a solid foundation, and build from there.
Ready to start shopping for frames and art? Here are our favorite sources:
Looking for more gallery wall inspiration? Browse our gallery wall ideas →